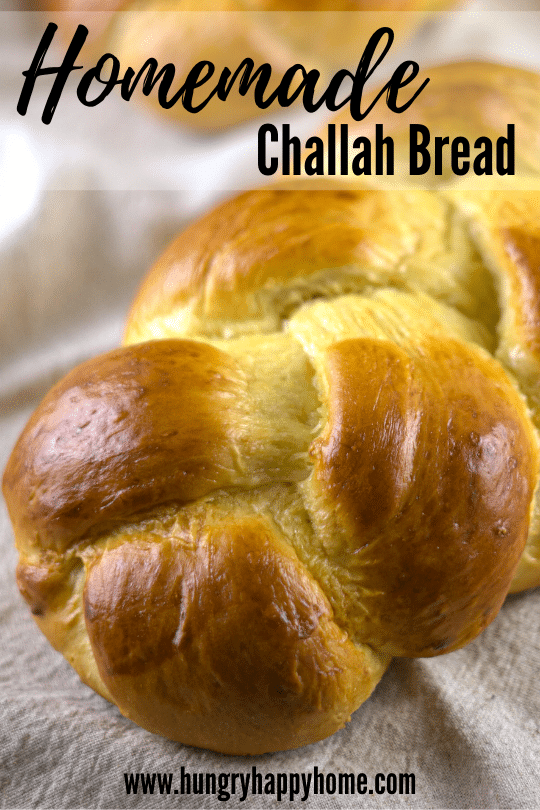
Homemade Challah Bread Recipe
After much trial and error, I present you with my homemade Challah Bread recipe! Making challah is not for the faint of heart and believe me when I tell you, it’s a labor of love. But don’t let my dramatics throw you off! All in all, the steps themselves are actually not difficult at all, it’s just super time consuming (think 4+ hours) so make sure you begin this on a day you planned on staying home anyway. The end result is so SO worth it.
I’m not sure why it took me so long to purchase one of these…but I recently bought a dough whisk and it’s the bee knees! Obviously, you could make this in a stand mixer that has a dough hook but believe it or not, I still mix everything by hand! I just really enjoy the process of cooking and baking. Anyway, the point is, if you also still mix things by hand, you may want to check out this dough whisk. It will make bringing together the dough a breeze!
*this post contains affiliate links to products we use and love!* Click HERE to learn more*

Check out more of my BAKING RECIPES or my baking board on PINTEREST.
Did you make this Homemade Challah Bread recipe? Tag @hungryhappyhome on Instagram so that I can check it out!

Homemade Challah Bread
Ingredients
Challah Bread
- 2 1/2 cups warm water (about 110 degrees F) (divided as follows: 1 cup and 1 1/2 cups)
- 1 packet active dry yeast
- 1 tablespoon honey (for proofing yeast)
- 1/2 cups honey (for dough)
- 4 tablespoons olive oil
- 1 egg 3 yolks
- 1 tablespoon salt
- 8-10 cups all purpose flour
- 1 tablespoon olive oil (for greasing bowl)
Egg Wash
- 1 egg
- 1 tablespoon water
- 1/2 teaspoon kosher salt
Instructions
- Add 1 cup of the warm water and 1 tablespoon honey in a large bowl. Pour in the yeast packet and stir to dissolve. In about 10 minutes, it should be activated (foamy). Add the rest of the honey, salt, oil, eggs and water. Whisk until well blended. If your yeast did not activate, it is probably not good anymore and you may need to purchase new yeast before trying again.
- Slowly add in the flour, 1 cup at a time, stirring well after each cup is added. When the dough is too thick to stir with a spoon or spatula, switch to kneading with your hands.
- Knead the dough until it is not sticky and feels smooth. It should not stick to your fingers and should be stretchy. Add flour as needed in order to achieve this.
- Once your challah dough has reached the right texture, remove it from the bowl and wash the bowl out. Dry it and grease it with 1 tablespoon olive oil. Place the ball of dough back in the bowl and flip it over to coat it in the oil.
- Cover the bowl with a clean damp cloth and place it in a warm environment for 1 hour or until it has doubled in size. This could take varying amounts of time depending on different factors...just keep an eye on it!
- After the dough has doubled in size, give the dough a few punches to remove any air pockets. Put it back in its warm place at let it rise for another hour until it doubles in size again.
- Once it has again doubled in size, punch it down and turn it out onto a floured surface. Knead the dough, adding flour as necessary to keep it from becoming sticky.
- Preheat oven to 350 degrees F.
- Divide the dough in half.
- Taking one half at a time, divide each into thirds and roll each section into a rope about an inch and a half in diameter. Braid it starting from the middle, working your way outwards. When you get to an end, pinch the three ropes together and fold that bit under.
- Put parchment paper on two large baking trays and place one finished braid on each. Cover with the towel and let rise again for about half an hour.
- Prepare your egg wash by whisking all ingredients together until well blended. Using a pastry brush, brush the egg wash over the risen challah braids. Make sure to get in the cracks of the braid. Keep any leftover egg wash because we're going to brush the loaves again halfway through baking.
- Place your challah in the oven and bake for 20 minutes.
- After 20 minutes, remove the loaves and brush on another egg wash. Turn the pans around to ensure even baking, and place bake in the oven. Bake for another 20 minutes. You'll know the bread is done when it has a hollow sound when you tap on the bottom. Make sure to keep an eye on it to ensure that it does not get too brown. If it appears to be getting too brown, loosely cover it with a sheet of aluminum foil.
- When the challah is done, remove it from the oven and place on racks to cool.

Hands down my favorite bread now! Perfect on it’s own, but amazing for sandwiches and…..FRENCH TOAST!!